I have posted a number of articles related to ListBlock, ListView etc that you can use in HTML 5, web applications using Intel's XDK. Intel XDK's development platform for several frameworks were discontinued and Intel's effort is in the realm of Internet of Things devices and related applications.
Microsoft's Universal Windows Framework apps are well supported by Microsoft and you could use it for not only Windows but for other devices as well.
In the Universal Windows Platform (UWP) projects there is an advantage of one code that works on different device families (phone, tablet, desktop etc.). However, the UWP projects depend on using XAML. For example the 'List' related controls in UWP are as shown here:
In this post, I will show you how you may work with this controls for a UWP project.
Getting the ListView Control
Placing ListView on the Design area
Adding Textbox Controls to ListView
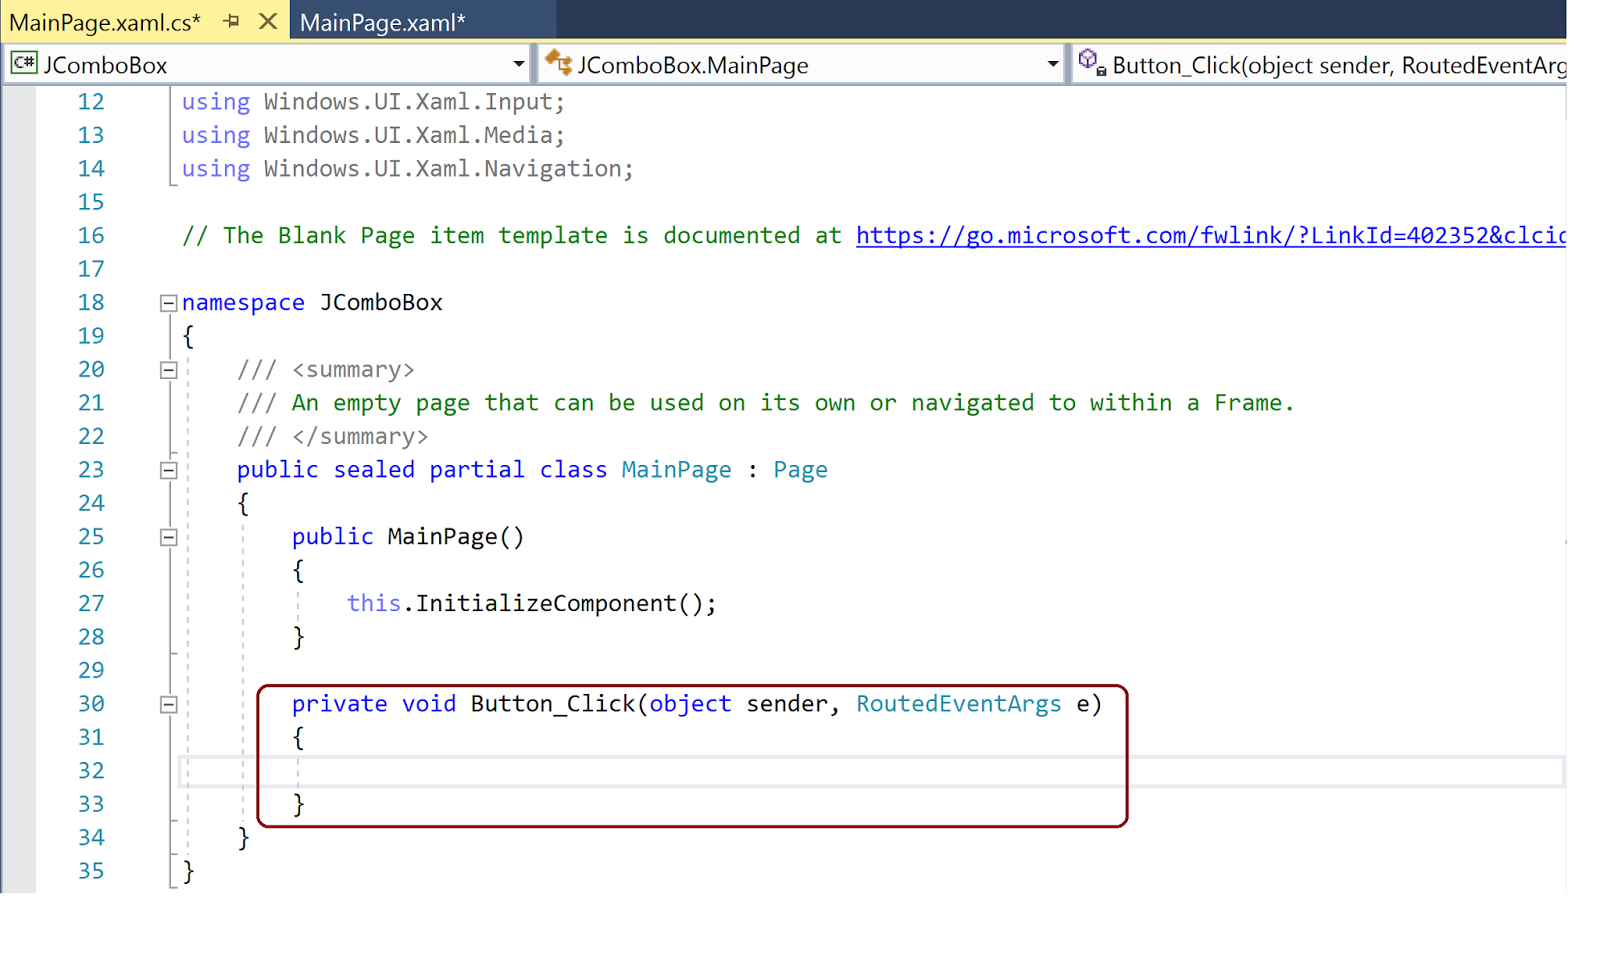
Making changes to XAML Code
You will be asked for what target and minimum versions of Windows 10 that you want. The higher the version the more feature support. The Build version 16299 is chosen for both as shown in the next two images.
Clicking OK after the selection brings creates a blank project very the same along the lines in my earlier link.
Now we would like to place controls and therefore we need to choose what controls to use from the following:
When you click on the above, you are taken to this interactive window. You are using the Windows Presentation Foundation controls.
There are quite a large with a few added by default should you choose. However you can filter (List) and get a shorter list that you want to choose. You can choose ListView.
As I previously mentioned the UWP is supported on all devices of Windows Family and therefore uses a common layout scheme which adjusts to the device footprint as shown (for 4 different devices from Phone to Desktop).
Dropping a ListView Control
All that is need is to drag and drop a control from here:
On to the design area here. I am designing for a 6" Phone format. The XAML code shows one line item inside the Grid as shown.
Adding items to the ListView, bunch of TextBoxes. You can just type-in or wait for intellisense to come to you rescue.
The interface is highly interactive, immediately these TextBoxes appear in the design as shown. Note that 'Jasmine' is not showing fully.
Although you could easily check for the device sizes from this interface. Although Visual Studio supports all the device sizes, but still it cannot accommodate 4" IOT as the ListView itself is quite large to get into an IoT as shown here:
In order to accommodate 'Jasmine', I have slightly played with the height (change 100 to 118) of ListView as shown.
TextBoxes also have a property called , IsColorFontEnabled and when choose to set it to TRUE, you can have access to lot more properties related color and other. I just chose to change the color of 'Lily' to blue.
Sure enough, the color changes to blue as shown in the rendered image when deployed to the machine (only relevant part shown).
I the next post, let us see how we may add controls to ListView using code behind.
----------------------------------------------------------------------------------------------------------------------
Intel XDK HTML Projects
Sortable ListBlock Widget using Intel XDK
Develop a Side Menu App using Intel XDK
Part 1:Creating a Intel XDK project using a template; SideMenu project UI, SideMenu on iPhone6 emulator
Part 2: Review of Controls and Layout as well as working with Pages. Pages in a SideMenu
http://hodentekmobile.blogspot.com/2015/12/develop-side-menu-app-using-intel-xdk.html
Part 3: Linking the pages and Navigation
http://hodentekmobile.blogspot.com/2015/12/develop-side-menu-app-using-intel-xdk_19.html
Part 4: Adding the BACK button to return to the previous page.
http://hodentekmobile.blogspot.com/2015/12/develop-side-menu-app-using-intel-xdk_26.html
Part 5: Adding pages and organizing controls to the project
http://hodentekmobile.blogspot.com/2016/01/develop-side-menu-app-using-intel-xdk.html