Showing posts with label UWP. Show all posts

Thursday, October 11, 2018

Problem and Fix: The app did'nt start(HRESULT:0x8027025B)

 The fix was to use the right combination of Target min version.

I faced quite a bit of downtime due to the wrong choice of the target version working with UWP Projects. Web search to find a cure sent me searching for answers I could not find.

I am using Microsoft Visual Studio Community 2017 Version 15.8.1. The Dell Laptop is running Evaluation copy of Build 17733.rs5_release(18083-1525). [This OS has a problem in that when you shutdown and restart the OS, it will reinstall the OS afresh wiping out some of the folders; saved passwords; saved items in Microsoft Edge. Visual Studio also gets reset.].

Now coming back to the right Target version for working with UWP projects, there are three options for the Target version shown in this image.

RightTargetVersion_0

Of the three options only one of them allows the Design editor in Visual Studio come up without this error - The app did'nt start(HRESULT:0x8027025B). This is the only one that works:

Windows 10 Creators Update (10.0; Build 15063).

Regarding the choices for the Min Version, Build 15086 and Build 15063 works without any changes, just the Solution refreshes.
RightTargetVersion_2

However, if you were to choose Build 14393.0 you need to install the required SDK.
RightTargetVersion_1

These findings are summarized in the next image.


RightTargetVersion_3

Friday, May 11, 2018

Your Visual Studio 2017 Community may have all items missing

I tried to create a UWP project in Visual Studio 2017 and I got this surprise.


empty_0
I got this message when I tried to open an existing Project.


empty_1
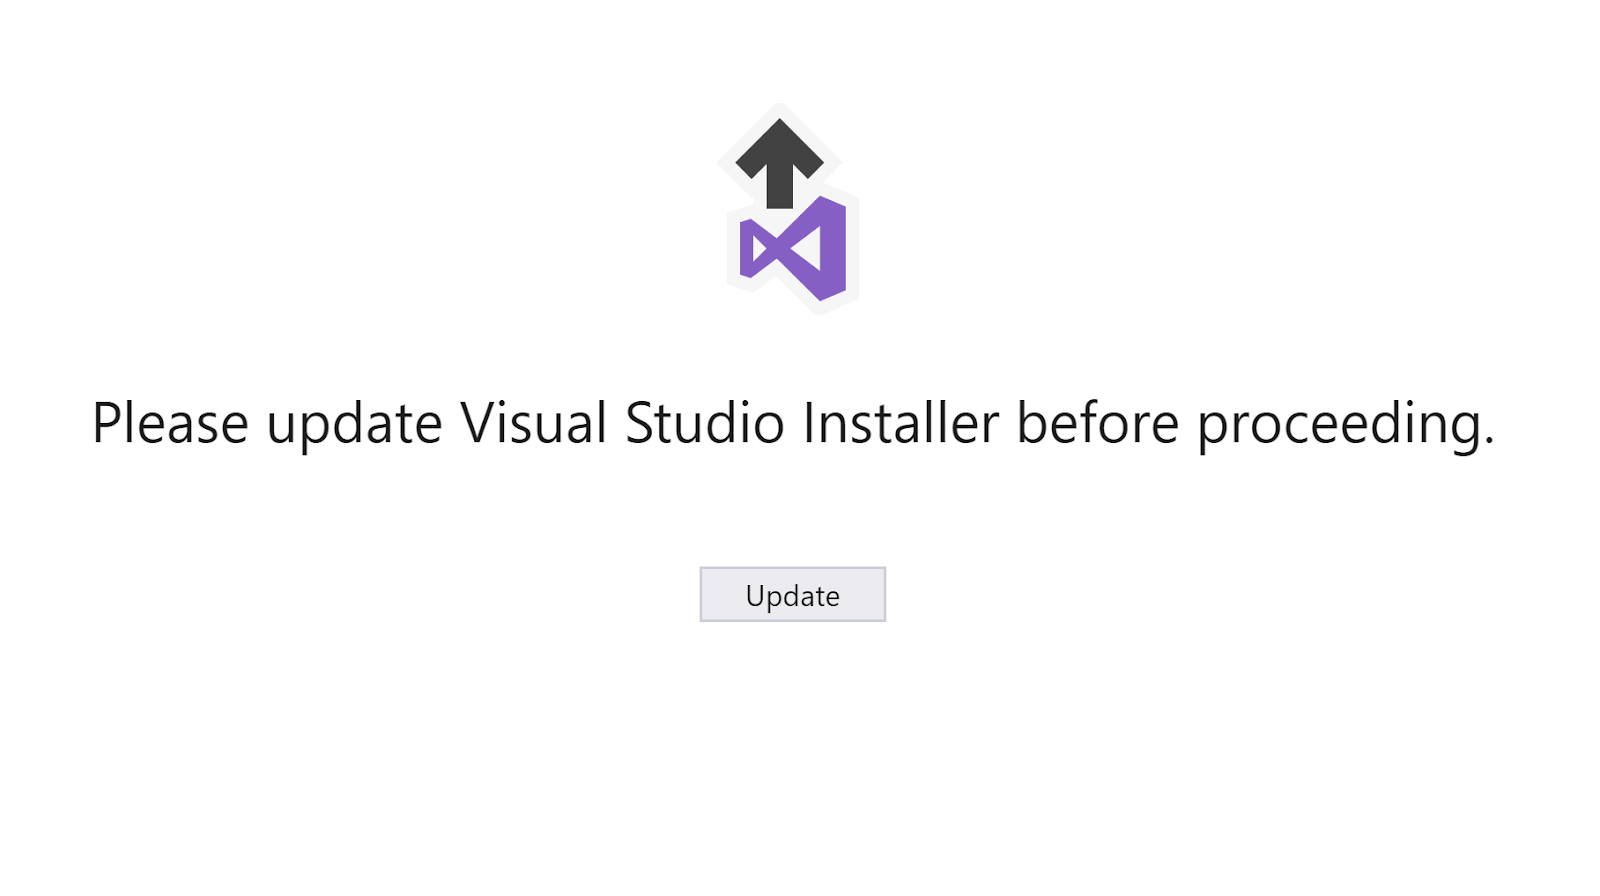
Looks like Microsoft forced an update. Anyway, I needed one and clicked Update.

The Visual Studio Installer came up and this takes some solid time to complete.


empty_2

Well after the installation (version 15.5.7) most of the components I had earlier did comeback, except for one.
This did not allow me to create a UWP project as there were assemblies missing.

I had to get them back as in the following working with Manage NuGet Packages.


Finally the references are complete.


AfterRestoringReference


The Microsoft.NETCore.UniversalWindowsPlatform was the missing reference.

Tuesday, May 08, 2018

On displaying a number formatted for currency in a UWP app

The entry you make in a text box control is of data type text and sometimes you need to format it as a currency with thousands separator while displaying.

Also, if the number of decimal places you enter is more than 2, you need to round it up to 2 in the output.

How do you code this in a UWP app?

Create a UWP page starting from a Blank UWP project with three controls as shown.


There are two text boxes and a button. You enter a number in the top textbox (txt1) and click the button, the formatted currency will be displayed in the bottom textbox(txt2).


The app displays as shown.

Now provide for a click event for the button and insert code as shown:

Convert_1

The string entered in txt1 is converted to data-type double, it is then 'rounded'. The rounded number is then formatted to show the currency symbol and the 1000's place delimiter you find, for example in Excel formatting.


Here is the app after entering a number and clicking the button.


Sunday, April 15, 2018

On designing TextBoxes in a Universal Windows Platform projects

I will be describing two aspects of the design. The first one deals with providing adequate space between textboxes when you have more than one. The second deals with designing textboxes so that they have the same style regarding back gorund color: font size and font family.

Controlling space between controls

The easiest way is use the Margin in your control.

The syntax is Margin="left, top, right, bottom"

The next image shows code and design time layout where all textboxes have some space between them. The Button is still attached to the last textbox.

Continued here.

Styling textboxes for uniformity

All textboxes having the same properties such as font style, font size, bordering etc. is essential for making apps to have a good visual appeal.

There are various ways you can do it, but here is a simple example of doing it.

I will be using the example in my previous post as it will simplify writing for me.

I will be using the layout in the next image from my above post:


PlaceSpaceBetweenControls..._2

This is how you modify the XMAL markup for the MainPage.xaml

Continued here.


Saturday, March 24, 2018

UWP: SplitView XAML Control

SplitView Class in XAML provides us with two views, one for Main content and the other, a Pane that can be used for navigation.

This is the inheritance chain:

DependencyObject 
|  UIElement | Framework Element | Control |SplitView


An Example using Visual Studio Community 2017

You can get a basic start with the SplitView Control here.

You could replace the default 'grid' in a Blank UWP project shown here:

DefaultBlank.png

Use the following in its place:


SplitView sample.png

This is ready for build. Build and run the app in the Local Computer.
This is what you see when the app is run.


There is a Pane (the SplitView. Pane and there is a TextBlock named 'Content' in the Grid.

Now I change the OpenPanelLenth (presently 296) to, say 150 and build and run the app. What do I see?


SplitView 2

Basically you can now see more content.

In the 'Pane' you can place controls and hook up events to them to display related 'Content' in the Content (i.e., inside the 'grid' control) on the right.

Friday, March 02, 2018

Pivot control to navigate pages in a Universal Windows Platform app

Pivot control with its tabs helps you in navigating between items which can be content panes. Each item has a header to provide the text for the tab. The Pivot has a title and is the container of PivotItems.

The following 3 images show the navigation between three items.

In this app, the Pivot title is: Navigating with Pivot. The first PivotItem header is 'Home', the second PivotItem's header reads 'English' and the third PivotItem's header is 'Spanish'.

I have some text in English in the PivotItem with header 'English' and similarly a translation of the English text to Spanish in the PivotItem for Spanish. You can go from one page to the other easily. The images are from a deployment to a Lumia 950 phone.

Home is the first PivotItem in the app:

 Now navigated to English

Now navigated to the 'Spanish'


Now the code is very simple and uses only XAML statements

Here is the MainPage.xaml:

Note: Although this page does not throw an error. It builds, deploys and runs without an error but the Hyperlink in the first PivotItem is not active, although showing up as a hyperlink (underline and all!).
I am checking on this one. It is interesting to note that Hyperlink is not a control in the XAML tool set.

Wednesday, February 07, 2018

Universal Windows Platform: ListView and SelectionChanged event - Part1

In my previous post you learnt about ListView and ListBox controls used in XAML.

In this post you will learn to:

Part 1
  • Progressively build a ListView Control 
  • Place ListViewItems inside a ListView's ItemTemplate
  • You will place three named ListView items

Part 2
  • You will write code to change the properties of items you placed.
At first, you launch Visual Studio 2017 Community and create a blank Universal Windows Platform project using C# and provide the name to the project (Project JListView).

JlistView_0.png

Here you choose the target and min versions of Windows 10


JlistView_1.png

Add a ListView as shown between the 'Grid' as shown using intellisense.


JlistView_2.png

An empty ListView control is added to the XAML with some default border over the Desktop as shown.

JlistView_3.png

Now we place an ItemTemplate of the ListView by choosing from a drop-down list.

JlistView_4.png

Visual Studio is not happy as this template cannot be empty. We will add a DataTemplate inside the ItemTemplate, again using intellisense.

JlistView_5.png

Choose to place a DataTemplate.


JlistView_6.png

DataTemplate is placed and there is no red wiggly line for ItemTemplate like before. 


JlistView_7.png


Now we place a Grid, layout element, again using intellisense.


JlistView_8.png


DMCA.com Protection Status